Snow cones stand out among frozen treats. Their cool crunch and bright flavors spark joy on scorching summer days. Snow cone syrup amplifies that joy by adding vibrant colors and mouthwatering sweetness. In this comprehensive guide, you will uncover all the essential tips, techniques, and recipes needed to master this delightful syrup. Whether you want to prepare your own at home or explore store-bought options, you’ll learn how to elevate your icy confections every time.
In the sections below, we will explore the history of snow cone syrup, essential ingredients, equipment, popular flavors, and more. By the time you finish reading, you’ll be ready to craft the perfect snow cones—bursting with flavor, color, and icy goodness.
A Brief History of Snow Cone Syrup
Snow cones trace their origins to ancient times. People in several parts of the world discovered the refreshing nature of shaved or crushed ice and sweetened it with fruit juices or syrups. However, modern snow cone syrup has deeper roots in 19th-century American fairgrounds. Candy makers and street vendors recognized a lucrative opportunity and began crafting creative syrups that paired perfectly with crushed ice.
How Snow Cones Became an Iconic Treat
- Industrial Ice Production: Before reliable refrigeration, ice was expensive and scarce. Therefore, the availability of industrial ice manufacturing in the early 1900s made snow cones more accessible to the public.
- Carnival Culture: Traveling circuses and carnivals spread the popularity of snow cones. Vendors promoted bold and fruity snow cone syrup flavors at local fairs.
- Regional Varieties: Different parts of the United States developed unique variations. For example, the South sometimes favored cream-based syrups, while the West leaned more toward bright, fruity tastes.
With the rise of convenience stores and supermarkets in the 20th century, pre-made syrups became widely available. Snow cone syrup eventually found a permanent home in home kitchens, concession stands, and shaved ice shops around the world.
Why Snow Cone Syrup Is Essential for a Perfect Treat
A snow cone without syrup is just crushed ice. That might be refreshing, but it lacks the taste that makes this treat a summertime favorite. The syrup provides both flavor and color, transforming a simple cup of ice into a joyous dessert. Furthermore, snow cone syrup helps the shaved ice retain moisture and prevents it from tasting bland or watered down.
Key Benefits of Using the Right Syrup
- Enhances Flavor: A good snow cone syrup provides a burst of sweetness and can carry natural fruit flavors.
- Visual Appeal: Brightly colored syrup offers a festive look, making snow cones even more enticing.
- Texture Preservation: The syrup coats the ice, creating a smoother texture instead of a crumbly, watery one.
- Customization: You can mix and match multiple syrups, creating layered flavors that add variety to any menu.
Snow cone syrup is the fundamental ingredient that captivates the taste buds and completes the snow cone experience. Therefore, choosing the right syrups and knowing how to use them effectively is crucial.
Understanding the Core Ingredients of Snow Cone Syrup
The Three Building Blocks
- Sugar or Sweetener
Sugar forms the foundation of most snow cone syrup recipes. However, some people prefer honey, agave nectar, or artificial sweeteners. Whichever you choose, the sweetener sets the tone for the final product’s taste and consistency. - Flavor Extract or Fruit Puree
The essence of any syrup lies in its flavoring agent. Traditional picks include fruit extracts like cherry, grape, or lemon. More adventurous palates might enjoy tropical fruit purees, colas, or specialty flavors such as tiger’s blood (we’ll explore that soon). - Water
Water dissolves the sugar and flavoring, transforming them into a cohesive syrup. Controlling the ratio between sugar and water ensures your syrup isn’t too thick or too runny.
Snow cone connoisseurs often add optional ingredients like citric acid or flavor enhancers. Citric acid, for example, balances the sweetness by providing a subtle tartness.
Striking the Right Balance
Achieving the perfect snow cone syrup involves balancing sweetness, flavor, and consistency. Use these pointers:
- Taste as You Go: Gradually add sugar and taste after each adjustment.
- Control Viscosity: Thicker syrups cling better to ice. However, excessively thick syrups can be overpoweringly sweet.
- Experiment with Fruit Juices: Natural juice can give your syrup a fresh, tangy twist.
By understanding the science behind these core ingredients, you’ll gain control over every aspect of your homemade syrup’s taste and texture.

Crafting Homemade Snow Cone Syrup from Scratch
Many snow cone enthusiasts prefer homemade syrup because it allows for creative freedom. You can adjust the sweetness, use all-natural ingredients, and customize the flavor profile. Below is a comprehensive guide to making a basic snow cone syrup at home.
Step-by-Step Recipe for Classic Syrup
- Gather Your Ingredients
- 2 cups of sugar (or alternative sweetener)
- 1 cup of water
- 1–2 teaspoons of flavor extract (e.g., cherry, strawberry, or grape)
- Optional: 1 tablespoon of lemon juice or a pinch of citric acid
- Combine and Heat
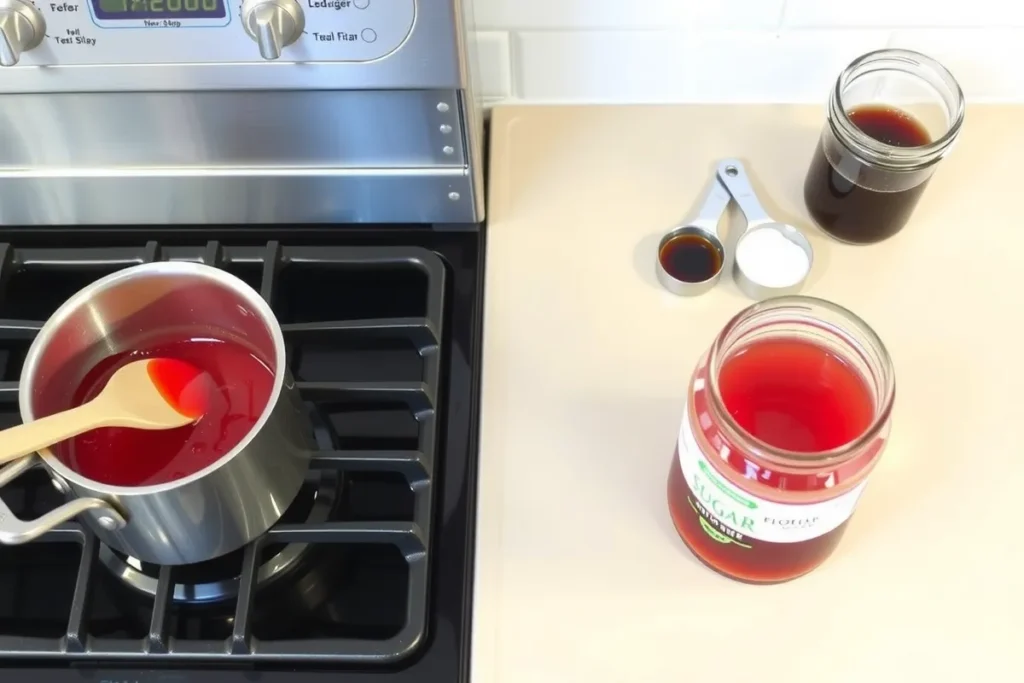
- Pour the sugar and water into a saucepan.
- Stir the mixture over medium heat until the sugar dissolves entirely. Avoid boiling; gentle heating is enough.
- Incorporate Flavor
- Once the sugar dissolves, reduce the heat to low.
- Add your chosen flavor extract and optional lemon juice or citric acid.
- Stir well for about 1–2 minutes.
- Cool and Store
- Remove the saucepan from heat and let the syrup cool.
- Transfer it to a sterilized container or jar with a lid.
- Refrigerate for up to a month.
Tips for Homemade Snow Cone Syrup
- Use fresh fruit purees for a bolder taste.
- Consider adding a few drops of food coloring for a vibrant hue.
- Adjust sweetness gradually, as certain fruit flavors can be tangier than others.
- If you want a thicker consistency, simmer the mixture for a few extra minutes.
With a bit of practice and patience, homemade snow cone syrup lets you craft personalized flavors that shine at parties, barbecues, or special events.
Top Store-Bought Snow Cone Syrups to Try
Homemade syrups are wonderful, but sometimes convenience is key. Store-bought varieties allow you to enjoy popular flavors without spending time in the kitchen. Furthermore, commercial snow cone syrup brands often offer large selections, from classic cherry to exotic blends.
Popular Brands and Flavor Highlights
- Hawaiian Shaved Ice
- Known for bright colors and tropical fruit flavors.
- Offers variety packs with popular picks like pina colada, blue raspberry, and lemon-lime.
- Snappy Snow Cone Syrup
- Features a thicker consistency that clings well to ice.
- Provides a wide range of flavors, including cotton candy and bubble gum.
- Torani Flavored Syrups
- Often used in coffee shops, but also great for snow cone syrup.
- Come in gourmet flavors like caramel and vanilla bean, appealing to a refined palate.
- Concession Essential
- Sells large gallons, ideal for community events or fundraisers.
- Typically offers classic fruit flavors such as watermelon and strawberry.
Choosing the Right Store-Bought Syrup
- Check the ingredient list for real sugar versus high-fructose corn syrup.
- Look for any artificial dyes if you prefer natural coloring.
- Compare thickness, as thicker syrups typically have a more robust flavor.
- Evaluate cost per ounce, especially for large gatherings.
Store-bought syrups provide quick solutions for busy hosts, while still delivering the unmistakable sweet burst that makes snow cones stand out.
Exploring Popular Flavors of Snow Cone Syrup (Including Tiger’s Blood)

One of the thrilling aspects of snow cone syrup lies in the seemingly endless flavor possibilities. Traditional favorites like cherry, grape, and blue raspberry still dominate, yet new creations continue to captivate adventurous taste buds. Tiger’s blood stands as a prime example of a more modern flavor innovation.
What Is Tiger’s Blood?
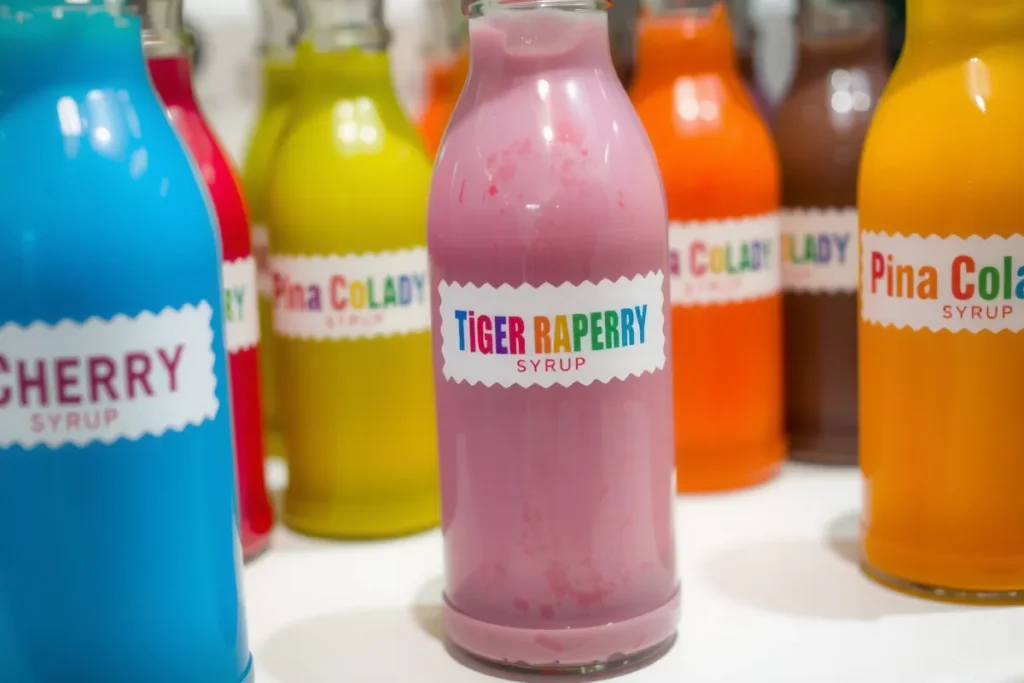
Tiger’s blood is a popular snow cone flavor that combines strawberry, watermelon, and a hint of coconut. Its name comes from its striking red color, reminiscent of a vibrant tropical punch. Although it might sound exotic, tiger’s blood is simply a sweet, fruity flavor blend beloved by both kids and adults.
Other Crowd-Favorite Flavors
- Cherry Limeade: Offers a tangy twist to the classic cherry taste.
- Blue Raspberry: Vibrant, sweet, and a must-have for children’s birthday parties.
- Pina Colada: Brings tropical vibes to any backyard gathering.
- Green Apple: Adds a refreshing, slightly sour punch to your snow cone syrup lineup.
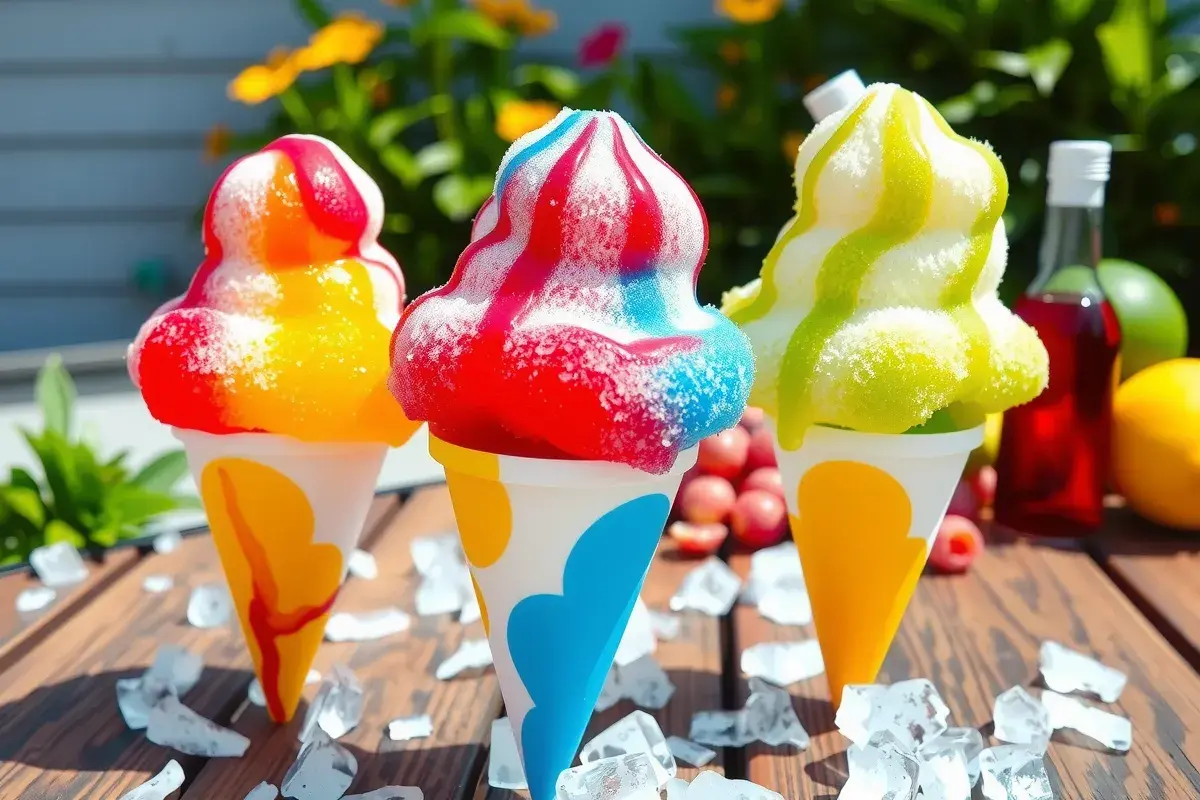
Exploring various flavors ensures that your snow cones remain an exciting treat. For extra flair, mix two or more syrups. This layering effect results in a colorful and flavorful stacked cone.
Equipment and Techniques for Perfectly Fluffy Snow Cones
No matter how fantastic your snow cone syrup is, you still need the right equipment and methods. After all, the quality of the ice dramatically affects how well the syrup adheres and how the final product tastes.
Must-Have Tools
- Ice Shaver or Crusher
- Manual or electric, these devices create fine or coarse ice suitable for snow cone syrup.
- Electric shavers typically produce smoother ice, similar to shaved ice.
- Dispensing Bottles
- Simplify pouring the syrup onto ice without waste or mess.
- Refillable bottles are eco-friendly and budget-friendly.
- Snow Cone Cups or Cones
- Traditional paper cones are popular for events.
- Plastic cups with lids can keep the mess at bay.
- Cooler or Insulated Container
- Keep extra ice stored properly to maintain optimal texture and temperature.
Ice Preparation Techniques
- Use bagged ice if your tap water has an off-taste.
- Freeze fruit juice into ice cubes for a flavor-infused base.
- Avoid letting the ice sit out too long, or it will melt and form clumps.
- For an ultra-fine texture, invest in a high-quality electric shaver.
By combining quality equipment with expert techniques, you can consistently produce dreamy, fluffy snow cones that showcase your carefully chosen snow cone syrup.
Creative Ways to Use Snow Cone Syrup Beyond Traditional Cones
Beyond the Cone: Innovative Ideas
Though snow cone syrup is iconic for icy treats, its versatility goes beyond crushed ice. Experimenting with this sweet liquid can lead to delightful surprises in your kitchen.
- Snow Cone Floats: Instead of regular soda, use carbonated water and a splash of your favorite syrup for a tangy, bubbly delight.
- Fruit Salad Drizzle: Elevate plain fruit salad by drizzling a small amount of snow cone syrup over it.
- Yogurt Parfaits: Add a thin swirl of syrup in between layers of yogurt and granola for a sweet punch.
- Mocktails and Cocktails: Use syrups like piña colada, mango, or strawberry daiquiri in mixed drinks.
These creative twists allow you to maximize the potential of any leftover syrup. It transforms an ordinary recipe into a memorable treat that appeals to all ages.
Tips for Experimentation
- Start with small quantities to avoid overpowering your dish.
- Combine complementary flavors (e.g., coconut syrup with tropical fruits).
- Use sugar-free or low-sugar syrups for healthy alternatives.
- Keep a labeled squeeze bottle handy for quick, mess-free drizzling.
Enjoy the immense versatility of snow cone syrup in desserts, drinks, and more. Let your imagination run wild and unlock new taste sensations.
Snow Cone Syrup Safety and Storage
Snow cone syrup involves sugar and water, which can create an environment for microbial growth if not stored correctly. However, proper handling and storage keep your syrups safe and fresh for extended periods.
Best Practices for Food Safety
- Sterilize Containers: Before storing homemade syrup, rinse jars or bottles with boiling water.
- Refrigerate: Most homemade syrups last up to a month in the fridge if sealed tightly.
- Check for Separation: If your syrup appears cloudy or separates, stir it thoroughly. Dispose of it if you notice mold or an odd smell.
- Follow Expiration Dates: Store-bought syrups typically have preservatives that extend shelf life. Nonetheless, check the expiration date before use.
Extending Shelf Life
- Add lemon juice or citric acid for natural preservation.
- Keep syrups away from direct sunlight to prevent color changes.
- For larger batches, consider freezing syrup in small portions.
By following these steps, you’ll maintain the quality of your syrup and ensure each scoop tastes just as fresh as the first.
Troubleshooting Common Issues with Snow Cone Syrup
Occasionally, even experienced makers encounter pitfalls. Here’s how to address problems like crystallization, lackluster flavor, or watery texture.
Identifying and Solving Problems
- Crystallization
- Cause: The sugar ratio might be too high, or the mixture wasn’t heated enough.
- Solution: Reheat the syrup gently, stirring until crystals dissolve. Adjust the sugar-water ratio if necessary.
- Weak Flavor
- Cause: Insufficient flavor extract or dilution from melting ice.
- Solution: Increase the flavoring, or drizzle additional syrup on top. Also, ensure the ice is not too coarse.
- Overly Thick Consistency
- Cause: Too much sugar or too little water.
- Solution: Stir in a small amount of warm water until you achieve the desired consistency.
- Color Bleeding
- Cause: Excessive colorant or certain artificial dyes.
- Solution: Reduce the amount of dye or choose color-stable ingredients.
A quick analysis of your syrup formula or technique usually reveals an easy fix, ensuring a consistently delicious result.
FAQ—People Also Ask
Below are common questions that arise when discussing snow cone syrup and frozen treats. Understanding these queries can help you improve your results and create spectacular snacks.
What’s the Difference Between Snow Cone Syrup and Shaved Ice Syrup?
Snow cone syrup usually has a thicker consistency and stronger flavor. Shaved ice syrup is often lighter and seeps more deeply into the finely shaved ice. However, you can use either type on both snow cones and shaved ice. The key distinction is texture and how the syrup disperses within the ice.
What to Use for Snow Cone Syrup?
Many options exist for snow cone syrup. You can use simple homemade mixes of sugar and water, store-bought varieties with assorted flavors, or even fruit purees. For a healthier alternative, try natural sweeteners like honey or agave, combined with real fruit extracts.
What Flavor Is Tiger’s Blood?
Tiger’s blood features a blend of strawberry and watermelon with a subtle hint of coconut. Its striking red shade and tropical taste make it a crowd favorite at parties and events.
How Many Snow Cones Does 1 Gallon of Syrup Make?
A general estimate is around 60–70 snow cones per gallon. However, factors like cone size, amount of ice, and personal preference for sweetness affect the actual yield.

